What is a cable cable connector?
2023-10-17
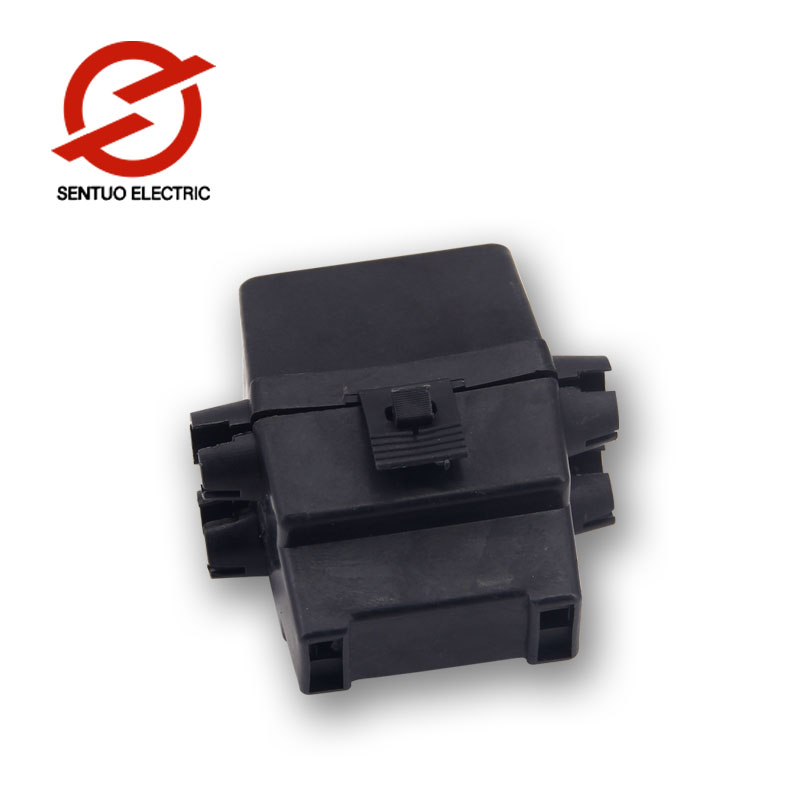
What is a cable connector?
Cable and cable connectors are used for signal transmission between various digital program-controlled switches in transmission equipment bureaus, internal connections of photoelectric transmission equipment and distribution frames, and are used to transmit data, audio, video and other communication equipment. The sheath is made of flame retardant material with high safety factor. Adopting advanced technology to produce, the flame retardant and anti-uniformity of the cable is good, and the multi-core cable makes the rack laying more convenient.
knowledge development
Cable Connector Installation Process
1 Disassemble the cable connector and disassemble the detachable parts sequentially.
2 Fix the end of the cable and nail it on the shaft plate, the end protrudes 200mm-300mm, and the end slopes downward to form an angle of about 30°-45° with the horizontal direction.
3 Use a hand saw or an electrician's knife to strip off a section of cable sheath about 45mm long, and keep the section straight.
4 Use sealant (87 glue or 703 glue) to evenly apply a circle on the junction of the sheath surface and the outer conductor (the part that can be covered by the rear end cover of the cable connector), and then put the rear end cover of the cable connector (press the lock ring), washer, and sealing ring are placed on the cable in sequence, and the connecting sleeve of the cable connector is rotated and installed on the outer conductor with the sheath removed along the helical direction of the outer conductor, close to the end of the cable sheath.
5 Use a copper brush to remove the sheath powder and copper scrap remaining on the cable head.
6 Use special metal scissors to cut off the excess corrugated copper pipe outer conductor about 2mm away from the end face of the connecting sleeve. Use needle-nose pliers to flaring and flanging the outer conductor of the corrugated copper tube, and gently tap it with suitable tools such as needle-nose pliers and a hammer to make it flat against the end surface of the outer shell. Note that the flanging is required to be even and round.
7 Use water pliers, files, emery cloth and other tools to remove sharp corners and smooth burrs.
8 pairs of smooth copper tube inner conductors, use a hand saw to cling to the fixed outer conductors and cut off the insulating tape strips and inner conductors protruding from the outer conductors, use a file to flatten the end faces of the inner conductors (wrinkles) copper tubes, remove edges and corners, and tap with a tap , the depth should be compatible with the thread length of the inner guide assembly; for the inner conductor of the corrugated copper tube, cut off the insulating tape protruding from the outer conductor with water mouth pliers, and cut off the inner conductor of an appropriate length with special metal scissors.
9 Screw the inner conductor assembly onto the inner conductor (corrugated) copper tube. For the smooth copper tube inner conductor, tighten it with silk pliers; for the corrugated copper tube inner conductor, screw the thread connected to the inner conductor on the inner conductor assembly into the inner conductor for about 2mm, and use a suitable tool such as needle-nose pliers, hammer, etc. to gently tighten it. Beat the inner conductor, flanging inwards, and wrap the inner conductor assembly in the inner conductor; the thread connected with the inner conductor assembly is exposed outside. The flanging is required to be in close and firm contact with the inner conductor assembly.
10 Connect the inner conductor assembly, the inner and outer conductor fixing assembly, the inner conductor assembly, and the outer shell in sequence, tighten them, and install them securely (generally, the inner conductor assembly, the inner and outer conductor fixing assemblies, the inner conductor assembly, and the outer shell do not need to be disassembled during installation. Just align the inner conductor assembly with the outer shell of the inner conductor assembly and the connecting sleeve, and rotate the screwdriver rotation port and the outer shell on the inner conductor assembly respectively).
11 Gather the sealing ring, the gasket and the rear end cover in order, tighten the rear end cover and the connection sleeve with a wrench, and wipe off the excess sealant.
12Insert the jam into the inner conductor assembly.
13 Install the sealing ring and the protective cover of the cable connector, and connect and fix it with connecting fasteners; unscrew the protective nut of the inflation nozzle on the outer shell to inflate the cable, and fill in dry gas to make the air pressure reach 0.05MPa-0.2MPa, After 24 hours, the air pressure remains above 90% of the charged air pressure.