
Plastic Shredder Fabrication: Essential Techniques and Best Practices
2026-05-06
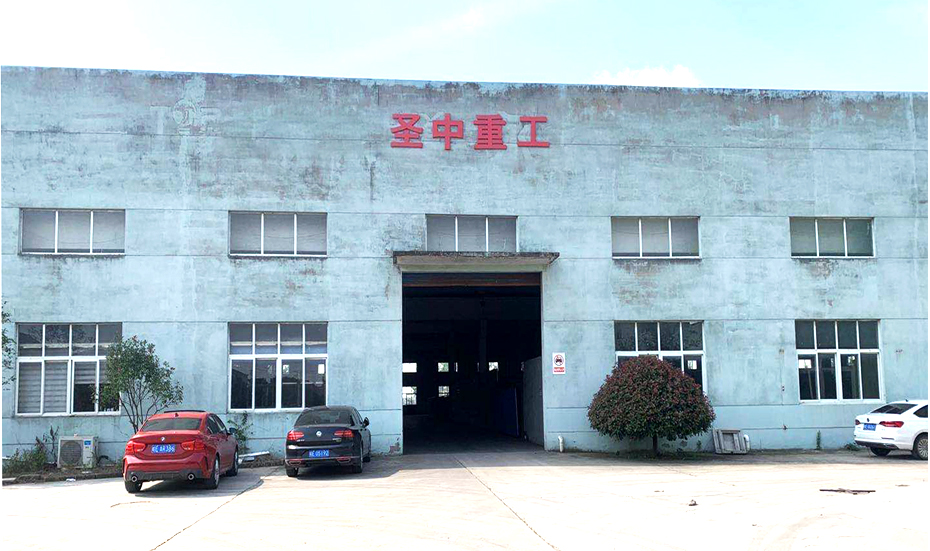
Ever wondered what separates a reliable plastic shredder from one that breaks down under pressure? The secret lies in the fabrication process. From material selection to precision welding, every step shapes the performance and lifespan of the machine. At Shengzhong Shredder, we've spent years refining these essential techniques to build shredders that handle tough plastics day in, day out. In this guide, we'll walk you through the core fabrication methods and best practices that ensure durability, efficiency, and safety—so you can make informed decisions whether you're building or buying.
Choosing Wear-Resistant Alloys for Shredder Components
The foundation of any shredder's longevity starts with the materials chosen for its most stressed parts. The goal isn't necessarily to find the hardest metal available, but the one that best balances impact resistance with surface durability. Alloys high in chromium and molybdenum tend to excel here, forming a microstructure that can absorb repeated blows without fracturing while a thin, self-renewing oxide layer handles constant scraping. In practice, this means looking beyond generic stainless steels and towards specialized tool steels or wear plates specifically engineered for high-abrasion environments.
Real-world performance often hinges on how well the alloy handles mixed waste streams. A material that shines when processing clean wood might erode quickly once metal contaminants enter the feed. The trick is to select an alloy with stable carbides evenly distributed throughout the matrix. These hard particles do the heavy lifting against gritty materials, while the surrounding matrix provides toughness. For instance, some martensitic steels combine a work-hardening characteristic with fine carbide networks, allowing the surface to become incrementally tougher as the shredder runs, rather than wearing down at a constant rate.
Don't overlook the role of thermal stability, especially in high-speed shredding applications. Friction generates heat, and repeated heating cycles can temper poorly chosen metals, softening them over time. Advanced wear-resistant alloys maintain their hardness up to higher temperatures, preventing premature softening and deformation. This matters most on cutters and anvils near the rotor, where temperatures can spike. Matching the alloy's heat response to the operational duty cycle can dramatically extend maintenance intervals, turning a part that would otherwise be a frequent consumable into a long-term asset.
Balancing Torque and Speed in Drive System Design
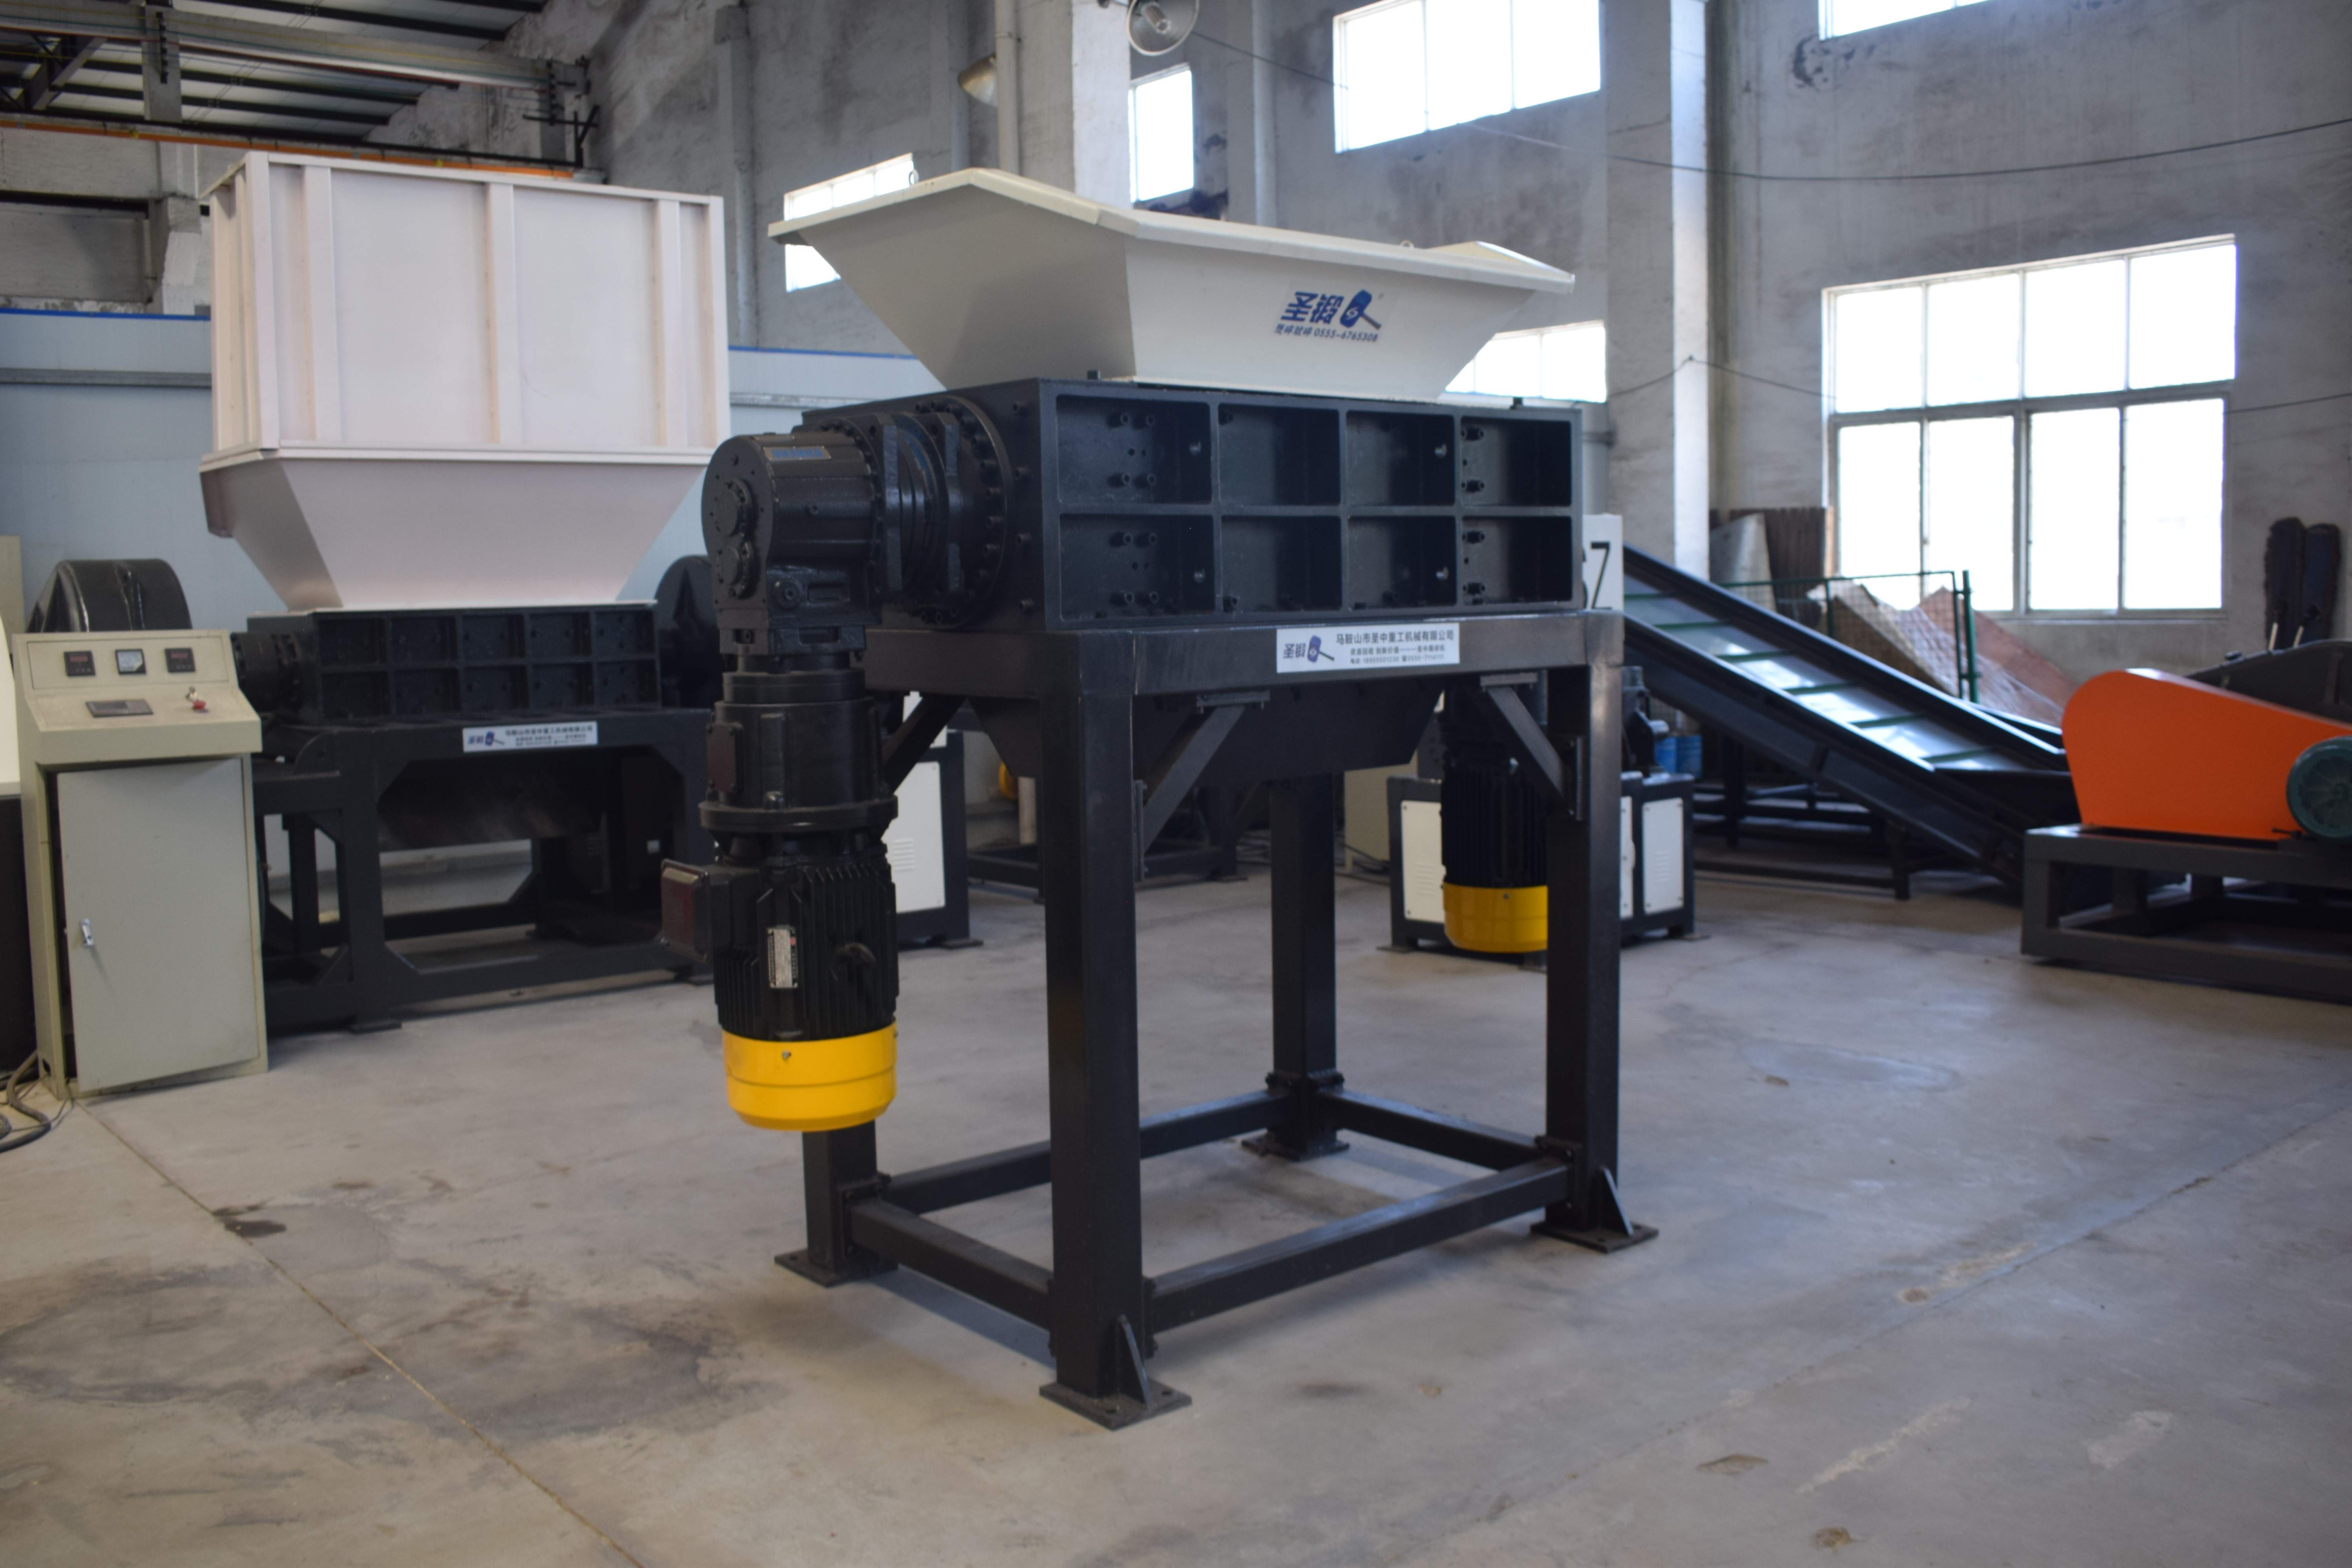
Every drive system sits at the intersection of two competing demands: torque, the twisting force that gets things moving, and speed, how fast they rotate once underway. Raw power alone rarely solves real-world problems. A conveyor hauling heavy ore needs relentless low-end grunt, while a spindle motor slicing silicon wafers craves blistering rpm with feather-light torque. The trick lies in recognizing that these attributes are not independent knobs you can crank freely. They couple through the power equation, meaning that for a given motor size, chasing higher speed inevitably trades away torque. Designers who ignore this coupling risk building machines that stall under load or waste energy droning at speeds the application never uses.
Mechanical gearing offers a classic escape hatch, multiplying torque at the expense of speed or vice versa, but it brings backlash, inertia mismatches, and maintenance headaches. Direct-drive setups sidestep these pitfalls at the cost of larger, heavier motors. The modern balancing act often hinges on smart motor selection and control strategy. Field-oriented control lets a single motor span wider torque-speed envelopes than brute-force approaches, while integrated motor-drive packages tune response curves to specific load profiles. Instead of bolting on oversized hardware, shrewd designers map the actual duty cycle—peak torque for breakaway friction, sustained torque for work, coasting phases—then size the system to spend most of its life in the high-efficiency sweet spot. This avoids the trap of designing for rare extremes that bloat cost and footprint.
Thermal behavior adds another layer to the balance. Torque production cranks up current and I²R losses, so a motor delivering high torque at low speed can overheat just as quickly as one racing at full speed. Forced cooling, intermittent duty ratings, and careful monitoring of winding temperatures let systems flirt with peaks without burning up. Sometimes the best compromise is not a single motor but a multi-axis strategy: a high-speed, low-torque actuator for rapid positioning paired with a separate clamping or pressing unit that applies torque only when needed. In the end, balancing torque and speed becomes less about picking a point on a catalog curve and more about sculpting the entire motion architecture around the rhythm of the task, accepting that no single ratio fits every instant.
Avoiding Common Pitfalls in Blade Sharpening and Alignment
Rushing through blade sharpening often leads to uneven edges or damaged steel. Many sharpeners fixate on angle consistency but overlook the importance of matching their stone's grit progression to the blade's condition. Starting too fine wastes time, while jumping from coarse to ultra-fine leaves a weak, micro-serrated edge that dulls quickly. Instead, assess the edge under good light—look for chips or flat spots—and let those imperfections dictate your starting grit.
Alignment errors creep in when you rely solely on visual guides or factory markings. A blade that looks straight can still pull to one side during a cut due to subtle bends or inconsistent thickness behind the edge. Use a dial indicator on flat reference surface, or at minimum, test the blade's tracking on a piece of scrap before making finish cuts. If the kerf wanders, stop and recheck rather than forcing the workpiece against the fence.
Another overlooked mistake is neglecting the burr removal stage. After honing, a micro-burr often clings to the apex, invisible but enough to cause tear-out or jagged cuts. A few light passes on bare leather or a hard felt wheel aligned perfectly square to the blade's face can shear off that residual wire edge. Test by gently dragging the edge across a fingernail—if it catches, you haven't finished the job.
Effective Dust Control During Shredding Operations
Shredding operations, especially when processing metals, plastics, or wood, inevitably generate fine particulate matter that can pose serious health risks to workers and lead to equipment damage if not managed properly. The airborne dust created during high‑speed shredding can contain hazardous substances, making it essential to implement robust control measures right at the source. By addressing dust generation early in the process, facilities can maintain a safer breathing environment and reduce the frequency of costly clean‑up cycles.
One of the most practical approaches involves integrating a combination of water misting systems and high‑efficiency extraction units directly into the shredding line. Misting nozzles positioned above the infeed and discharge areas bind airborne particles, pulling them down before they can spread, while strategically placed capture hoods connected to baghouse filters remove residual dust from the air. These systems work best when tailored to the specific material being processed, as different feedstocks produce dust with varying particle sizes and moisture affinity.
Beyond equipment upgrades, consistent operational discipline makes a noticeable difference. Regular inspection and cleaning of ductwork, filter elements, and shrouds prevent blockages that compromise suction performance. Training operators to adjust spray rates based on material type and to promptly report abnormal dust leaks fosters a culture where air quality is everyone’s responsibility. Simple housekeeping routines—such as vacuuming rather than blowing down surfaces—also keep accumulated dust from becoming a secondary airborne hazard.
Energy Efficiency Tactics in Motor Sizing
Selecting the right motor size is often treated as an afterthought, yet it directly shapes a system's long-term energy footprint. Oversizing remains the most common pitfall—engineers pad safety factors to the point where motors rarely exceed 50% of their rated load. At these partial loads, efficiency can drop by 10–20 percentage points, meaning a significant share of every kilowatt-hour simply turns into waste heat rather than useful work. The fix isn’t just trimming those margins; it starts with a granular load profile analysis that captures real-world operating cycles, not just worst-case peak demands.
Matching motor capacity to actual duty cycles yields gains that go beyond the nameplate. For intermittent loads, allowing a motor to run briefly into its service factor can eliminate the need for a larger frame size entirely. In continuous-duty scenarios, premium-efficiency (IE3 or IE4) motors offer a narrower efficiency band, but their advantage erodes quickly if they’re paired with an oversized drive train. Pairing a motor with a variable frequency drive adds another layer of control—slowing a fan or pump by just 20% can slash energy use by nearly half, thanks to affinity laws. The real skill lies in combining these tactics without overcomplicating the installation.
Total cost of ownership analysis reveals that a smaller, correctly loaded high-efficiency motor often recoups its price premium within the first 12–18 months through energy savings alone, even before factoring in reduced cooling loads and longer winding life. Soft starters and advanced motor protection relays can further trim inrush currents and fine-tune thermal margins, allowing closer sizing without risk. The shift toward integrated motor-drive packages is making these optimizations easier to implement, but the foundational step remains the same: treat motor sizing as a design-phase priority, not a procurement checklist item.
Long-Term Maintenance Schedules That Prevent Downtime
Keeping equipment running smoothly years after installation demands more than just reactive fixes. Thoughtfully structured long-term maintenance schedules turn unpredictable breakdowns into manageable, scheduled events. By mapping out service intervals based on actual usage patterns and wear indicators—rather than generic calendar dates—teams can tackle minor issues before they escalate into full-blown production halts. This proactive rhythm not only extends asset life but also allows for smarter allocation of spare parts and skilled labor, avoiding the scramble that often accompanies emergency repairs.
A well-designed long-term plan also accounts for the subtle shifts in equipment behavior over time. Subtle increases in vibration, thermal readings that creep outside normal bands, or gradual drops in output quality rarely trigger immediate alarms, yet they signal approaching failure. When maintenance schedules integrate these early warning signs, technicians can plan interventions during natural slowdowns or off-peak hours. This turns a potential line stoppage into a brief, controlled pause that barely registers on productivity metrics. The key is building in the flexibility to adjust frequency and scope as machines age, so the schedule evolves alongside the equipment’s actual condition rather than remaining a static document.
Beyond the machinery itself, cohesive long-term schedules foster a culture where maintenance is seen as a strategic advantage, not a cost center. Operations teams that regularly review and refine their upcoming service calendar tend to spot patterns—like recurring part failures or seasonal stress on certain components—that prompt improvements in procurement or operator training. Over time, this institutional knowledge reduces the guesswork, trimming preventive tasks that show little value while doubling down on the ones that truly keep downtime at bay. The result is a living maintenance ecosystem that continually self-corrects, keeping critical processes online more often and with less drama.
FAQ
Focus on the type of plastic you'll process, as different polymers require varying torque and blade geometries. Prioritize a robust frame, accessible cutting chamber, and easy-to-clean hopper to reduce downtime. Blade alignment and bearing selection are critical for longevity.
Opt for tool steel like D2 or A2 for blades, as they offer a balance of hardness and toughness. For highly abrasive plastics, consider cryogenically treated steel or adding hard-facing. Regular hardness testing and edge retention evaluations during prototyping will save headaches later.
A 2–5 HP motor with a low RPM (30–60) and high torque output works well. Use a gear reducer to achieve the necessary torque without overloading the motor. Three-phase induction motors are preferred for continuous operation, but a single-phase motor with a VFD can suffice for intermittent use.
Include an emergency stop button within easy reach, a lockout/tagout mechanism for maintenance, and a safety interlock on the hopper to prevent access while running. Electrically ground the entire frame and install a thermal overload relay to protect the motor. Document all safety features in a visible checklist.
Design the blade clearance to be between 0.1–0.5 mm to avoid jamming while still achieving a clean cut. Use a sieve or screen with uniform hole sizes beneath the blades to control output particle size. Regularly inspect and sharpen blades, and never feed plastic that exceeds the shredder's capacity.
After each use, purge the machine with a small amount of clean plastic to clear residual material. Lubricate bearings monthly and check gearbox oil levels weekly. Keep a log of blade sharpening intervals to predict wear patterns. Store the shredder in a dry area to prevent rust, and always disconnect power before inspection.
Conclusion
Building a reliable plastic shredder demands careful material choices and mechanical balance. The selection of wear-resistant alloys for blades and cutting chambers directly affects longevity under harsh, abrasive loads. Beyond hardness, factors like impact toughness and corrosion resistance matter when processing mixed or contaminated feedstocks. In drive system design, torque and speed must be tailored to the material; rigid, thick-walled plastics need low-speed, high-torque setups to avoid stalling, while films and flexible waste may benefit from higher rpm for throughput. A frequently underestimated detail is blade sharpening and alignment. Poor edge geometry or misaligned rotors lead not only to reduced particle consistency but also to accelerated wear and excess power draw. Field experience shows that regular inspection with feeler gauges and dedicated sharpening jigs prevents these hidden inefficiencies.
Operational practices further distinguish a well-built machine. Effective dust control goes beyond simple vacuum hoods—it involves enclosing the cutting zone, optimizing airflow to capture fines at the source, and selecting filter media that handle static-charged plastic dust. Energy efficiency starts with motor sizing; oversizing leads to poor part-load efficiency and higher reactive power penalties. A right-sized motor paired with a variable frequency drive can adapt to varying loads and reduce peak consumption. Finally, long-term reliability hinges on structured maintenance schedules that go beyond reactive fixes. This means tracking bearing temperatures, monitoring vibration signatures, and planning blade changes around actual wear patterns rather than fixed hours. Such proactive routines prevent unexpected downtime and keep throughput consistent.
Contact Us
Contact Person: Leon
Email: [email protected]
Tel/WhatsApp: 8615385558866
Website: https://www.shred-waste.com