

Best Bubble Sensor for Accurate Air Bubble Detection in Liquids
2026-10-08
Accurate air bubble detection in liquids is critical across medical, pharmaceutical, and industrial applications—yet not all sensors are up to the task. If you’ve ever dealt with false alarms or missed bubbles, you know the frustration. In this post, we’ll cut through the noise and reveal what makes a bubble sensor truly reliable. From ultrasonic principles to real-world performance, we’ll help you choose the best option for your system. And when it comes to proven precision, Siansonic has earned its place in the conversation. Keep reading to discover how the right sensor can safeguard your process and deliver peace of mind.
What Actually Happens When a Sensor Misses a Micro-Bubble
When a sensor fails to register a micro-bubble, the immediate consequence is often invisible to the naked eye but can cascade quickly. In a closed fluidic loop or infusion line, that undetected bubble continues downstream. Depending on flow rate and line diameter, it may lodge in a filter, pass through a valve, or reach a critical junction where surface tension changes cause it to stall. The sensor's blind spot usually stems from a threshold setting, a refractory period after a previous detection, or a mismatch between bubble size and the sensor's optical or ultrasonic beam width. By the time downstream pressure or flow anomalies appear, the bubble has already moved beyond the point where it could be safely purged.
In many systems, the more dangerous outcome isn't the bubble itself but the false sense of system integrity. Operators and automated logic assume the line is clear because no alarm fired. That missing alarm can allow a micro-bubble to coalesce with others in a low-flow region, forming a larger gas pocket. Once that pocket reaches a critical volume, it can cause erratic pump behavior, localized dry spots in heat exchangers, or even transient cavitation in downstream sensors. The original miss may seem trivial—one bubble, a few microliters—but the physics of gas in liquid lines doesn't stay trivial for long.
There's also a second-order effect on the sensor itself. Many bubble detectors use automatic gain control or baseline tracking. A missed micro-bubble can momentarily shift the baseline signal if the bubble partially occludes the sensing region without crossing the detection threshold. The sensor then re-baselines to a slightly altered state, making it marginally less sensitive to the next bubble of similar size. Repeated misses reinforce this drift, effectively training the system to ignore the very events it was installed to catch. That's why calibration checks and periodic bubble-injection tests matter; they reveal not just whether the sensor triggers, but whether its threshold has silently migrated.
The Specs That Decide Whether a Bubble Detector Survives Your Liquid
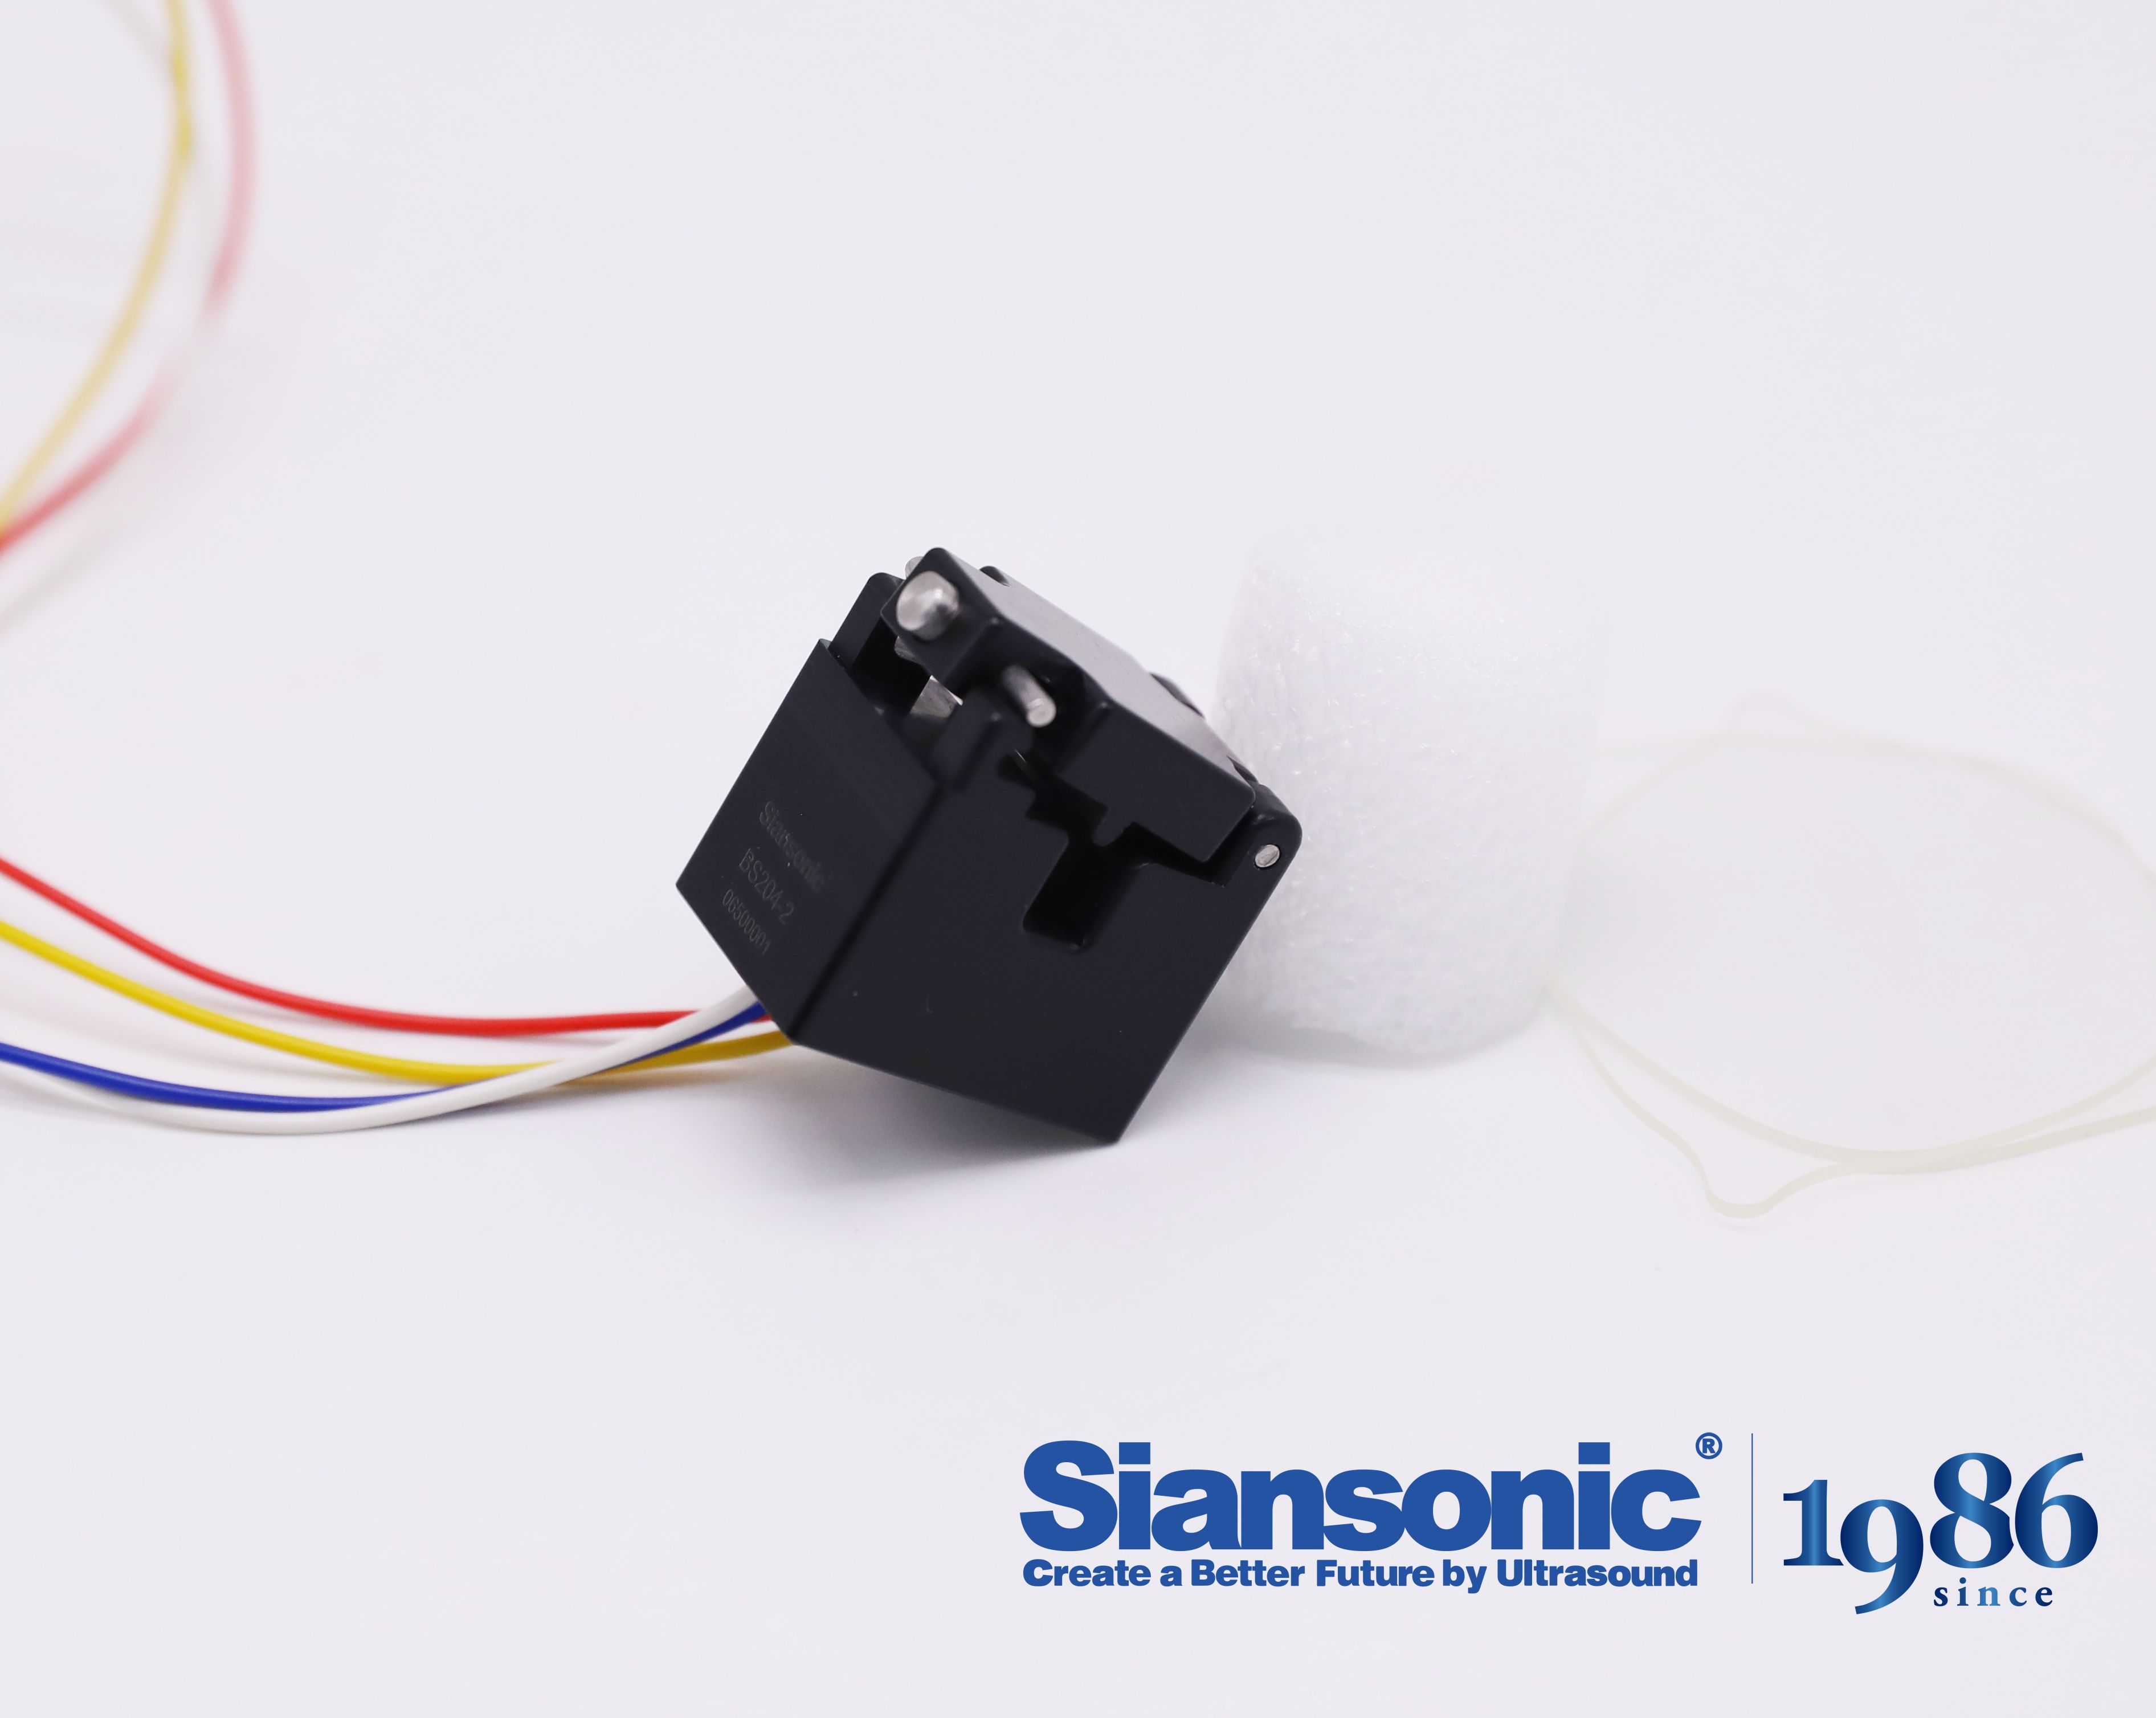
Not every bubble detector is built to sit in the same fluid. The wetted materials matter more than most people expect—PEEK and 316 stainless steel handle many solvents and acids, but a cheaper polycarbonate housing will cloud or crack in the presence of ketones or chlorinated cleaners. If your liquid has aggressive chemistry, check the sensor's chemical compatibility chart for every component that touches the stream, including the window, O-rings, and adhesive joints.
Beyond material choice, temperature and pressure ratings determine whether the detector survives continuous duty rather than just a quick bench test. A unit rated for 60°C may work fine in a warm water loop, but push that same sensor into an 85°C clean-in-place cycle and the epoxy can soften, seals can relax, and the optical path can drift. Look for a detector with a safety margin—ideally rated 20–30% above your max operating temperature and with a burst pressure at least double your line pressure.
Electrical protection is the third spec that often gets overlooked until a washdown floods the housing. IP67 or IP69K ratings mean little if the cable gland is not properly torqued or the connector is left uncapped during maintenance. For processes where the sensor gets sprayed, submerged, or exposed to condensation, choose a model with fully potted electronics, a vented cable option, and a reliable M12 or similar sealed connection. That combination keeps liquid out of the circuit board long after the datasheet's ideal lab conditions are gone.
Optical or Ultrasonic Without Getting Lost in the Jargon
Most phone makers don't expect you to care about sensor architecture. You just place a thumb and the screen unlocks. Yet the choice between optical and ultrasonic readers quietly shapes everyday reliability: how often a wet finger fails, how the screen behaves under direct sunlight, and whether a cheap screen protector turns unlocking into a game of chance.
Optical sensors, in plain terms, use light to photograph the ridges of your fingerprint. They're common in mid-range devices because the hardware is relatively simple and cheap. The trade-off shows up in bright outdoor light, where the extra illumination can wash things out, and with very dry or wet fingers, which don't always leave a clear optical impression. Ultrasonic sensors instead send a high-frequency pulse into the skin and map the returning echoes. It's closer to sonar than photography, and that physical difference pays off with damp fingers and tough screen protectors, though early versions can feel slightly slower.
The real question isn't which technology wins on a spec sheet. It's which compromises you'll live with daily. If you mostly unlock indoors with clean hands, optical is fine. If your thumbs are often sweaty, or you insist on a thick glass protector, ultrasonic saves more frustration than its price premium suggests.
Getting Reliable Readings When Flow Rates Keep Changing
A fluctuating flow rate does more than make the needle bounce—it can mask real process changes and lead to costly misreadings. The first step is to stop fighting the signal and start choosing hardware that can keep up. Look for instruments with a fast response time and a wide turndown ratio, and avoid devices that rely on a single measurement principle that breaks down outside a narrow range. For instance, many electromagnetic flowmeters can handle rapid velocity swings better than orifice plates, but only if you adjust the damping to match the actual fluctuation frequency rather than just cranking it up to smooth everything out.
Beyond the meter itself, the physical setup often causes more instability than the flow. A partially filled pipe, an elbow too close upstream, or trapped air bubbles will amplify every change in flow rate. Install straight runs or flow conditioners where possible, and check for the little things—like a loose grounding strap or a sensor coated with debris—because those create intermittent noise that looks exactly like a varying flow. If you're still seeing erratic readings, try logging data at high frequency for a few minutes instead of watching the display; that raw trace often reveals whether you're chasing a real process oscillation or just an electrical artifact.
Finally, match your signal processing to the timescale of the changes you care about. A moving average that's too long will hide a genuine surge, while one that's too short leaves you with noise. Calibrate the instrument at several points across the expected range—not just at a single high flow—and if you're using differential pressure, set the low-flow cutoff carefully so you don't report zero when there's still meaningful flow. Compensating for temperature and pressure shifts at the same time sounds obvious, but it's the step most often skipped when operators are under pressure to fix a fluctuating reading.
Where to Place a Sensor So It Catches Bubbles Not Noise
The sensor works best when mounted where bubbles naturally collect or pass in a steady stream, not in the middle of chaotic flow. In a pipe or tank, look for a slight constriction or a rise where air pockets gather. Placing it immediately after a mixing zone or pump outlet can flood it with false signals from cavitation and swirl. Instead, pick a stretch with laminar flow and a predictable bubble path.
Angle matters more than most people expect. A sensor pointing straight into the flow picks up every pressure fluctuation, while one turned slightly off-axis sees bubbles as discrete events. Mounting the transducer so the ultrasonic beam crosses the bubble stream at 30 to 60 degrees reduces noise from pipe walls and lets each bubble produce a crisp echo. Use a standoff or a recessed port to keep the face clean and out of the direct current.
Vibration isolation is the last piece. Bubble signals are short and sharp; mechanical hum from pumps, valves, or nearby machinery creates a low-frequency rumble that masks them. Secure the sensor with a soft gasket or bracket, and avoid long unsupported cable runs. If the application allows, place a short stilling well or baffle upstream—this lets bubbles rise into the sensing zone while turbulent eddies dissipate.
Keeping a Bubble Sensor Accurate After Months of Constant Use
Bubble sensors, like any precision instrument, drift over time. Continuous exposure to process fluids, temperature swings, and vibration gradually shifts their baseline. Many operators only notice the change when false alarms or missed detections appear. A monthly check against a known reference bubble, rather than waiting for a failure, keeps the sensor within its original tolerance band.
Cleaning is often overlooked but plays a bigger role than recalibration. Micro-deposits on the optical window or acoustic transducer can dampen the signal and mimic bubble presence. Use a soft, lint-free wipe with isopropyl alcohol—never abrasive pads, which leave fine scratches that scatter light or sound. For sensors in sticky or crystallizing media, a weekly rinse with warm water prevents buildup before it hardens.
Finally, log the drift trend instead of just adjusting the zero point. If the sensor needs a larger correction each month, that points to a slow leak, a degrading seal, or electronics aging. Replacing a worn O-ring or tightening a connector early is far cheaper than an unplanned shutdown. Accuracy after months of use isn't about a single calibration—it's about watching the pattern and acting before the error becomes visible in your process.
FAQ
Top models combine a sensing aperture that matches the tubing outer diameter with a fast response time under a few milliseconds. They also let you fine-tune the detection threshold and include firmware that rejects brief electrical noise without masking real bubble signatures.
Yes, because sound waves don't need optical clarity to detect density changes. The main caveat is that acoustic velocity varies with temperature and fluid composition, so you need a sensor with built-in temperature correction or periodic recalibration for reliable readings.
Mount the sensor on a rigid bracket away from the pump head, add a short section of flexible tubing before the sensor to dampen pressure spikes, and set a minimum bubble volume threshold that ignores transient noise. Some sensors also offer adjustable debounce timing to bridge over pulsation gaps.
Most high-end ultrasonic sensors can detect bubbles that occupy about 15 to 20 percent of the tube cross-section. In a 3 mm tube that translates to a bubble diameter around 0.5 mm, though with slow flow rates and careful calibration you can catch even smaller bubbles down to roughly 0.1 microliter in volume.
Absolutely, especially if your line runs hot cleaning cycles followed by cold product. Temperature swings shift the speed of sound in the liquid, which changes sensitivity. Without compensation, thresholds drift enough to either miss bubbles or trigger nuisance alarms during CIP sequences.
Ultrasonic sensors are your best bet because they respond to acoustic impedance differences, not electrical conductivity. You will need to recalibrate the trigger level when switching fluids, and watch for air pockets trapped between the sensor and tube wall, which can skew readings regardless of liquid type.
Place it downstream of any point where bubbles form, like a mixer or a tube junction, and use a straight tube section with at least ten diameters of run before the sensor. Avoid mounting right after a sharp bend or connector, because turbulence and flow separation can mimic bubble signatures.
Using tubing with a slightly wrong outer diameter, mounting the sensor on a curved or vibrating section, forgetting to remove air gaps between the sensor and tube, and setting the trigger threshold too close to the noise floor. Temperature changes that are ignored will also cause slow drift in sensitivity over time.
Conclusion
A bubble sensor that only catches large slugs of air will silently pass micro-bubbles into downstream pumps, valves, or analytical columns, where they cause dosing errors, cavitation damage, or false readings. The difference often comes down to how the sensor handles your specific liquid. Refractive index, viscosity, opacity, and chemical compatibility determine whether an optical design can distinguish a 50-micron bubble from debris on the tube wall, or whether an ultrasonic transducer gets enough acoustic contrast across a narrow tubing diameter. Instead of getting caught up in vendor jargon, focus on two measurable facts: the minimum detectable bubble size at the flow rate you actually run, and the wetted materials' resistance to your process fluid. A detector with a tight, repeatable response time and a clear wet/dry switching threshold will outperform one that merely lists a high sensitivity spec.
Flow rate changes cause bubbles to stretch, break up, or hug the tubing wall, so the best sensors combine a fast sampling interval with adaptive thresholding rather than a fixed trip point. Placement matters just as much as the electronics: mount the sensor after a sharp bend or a degassing chamber but before a critical pump inlet, keeping it away from fittings that trap air and from vibration sources that mimic bubble pulses. Over months of continuous use, optical lenses can cloud, ultrasonic couplants can dry out, and ambient temperature swings can shift baseline readings. The models that stay accurate are the ones built for field recalibration, with either a push-button dry/wet reference or a self-check routine that runs without removing the sensor from the line. Real long-term accuracy also depends on how easily you can inspect and clean the sensing gap, because a detector that survives your liquid chemistry but cannot be maintained will eventually drift no matter how precise its factory calibration.
Contact Us
Contact Person: Ivy Zhang
Email: [email protected]
Tel/WhatsApp: +86 1081502288
Website: https://www.siansonic.com/